How to stream over RTSP using RPi Bullseye
Why would i switch over?
As raspicam is deprecated in Raspbian OS 11 Bullseye, the obvious alternative is libcamera.
What not to use?
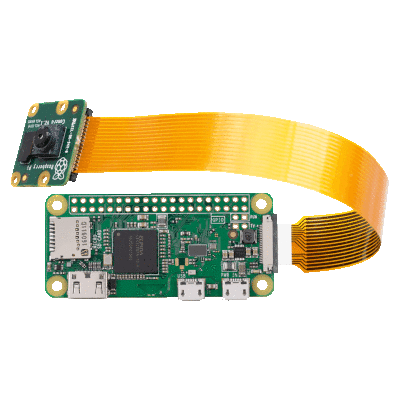
The Raspberry PI Zero W / W2
It doesn’t detect all camera types correctly, see forum post “Pi Zero W2 and Bullseye: ** no cameras available **”
How to configure
Preparing hardware
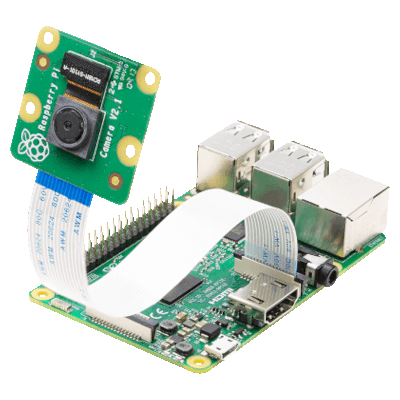
Connecting the camera to the Raspberry PI can be done by using the CSI (Camera Serial Interface) connector.


Testing hardware
When plugging in a monitor to the (mini) HDMI port of the Raspberry Pi you can test the camera by executing a test program.
The monitor will shortly show the video which comes from the connected camera.
This shows if you have correctly installed the camera to the Pi.
libcamera-hello
Preparing software
General update of your Raspberry Pi
sudo apt update && sudo apt -y full-upgrade
Installing libcamera apps
The libcamera-apps help you to make use of the hardware
sudo apt install -y libcamera-apps
Installing VLC
Installing VLC, this can take a while.
sudo apt install -y vlc
Allow VLC to be run as root. This is needed otherwise the streaming can not commence.
sudo sed -i 's/geteuid/getppid/' /usr/bin/vlc
Detecting your camera
Knowing your hardware is key to select the optimal resolution. Detecting your camera is possible.
libcamera-hello --list-cameras
The output could resemble, depending on your hardware;
Available cameras
-----------------
0 : ov5647 [2592x1944] (/base/soc/i2c0mux/i2c@1/ov5647@36)
    Modes: 'SGBRG10_CSI2P' : 640x480 [30.00 fps - (0, 0)/0x0 crop]
                             1296x972 [30.00 fps - (0, 0)/0x0 crop]
                             1920x1080 [30.00 fps - (0, 0)/0x0 crop]
                             2592x1944 [30.00 fps - (0, 0)/0x0 crop]
Creating a streaming script
Setting up stream.sh file
For setting the camera configuration you can set a number of parameters, see documentation
You can use nano to create the stream.sh file
sudo nano ~/stream.sh
Contents of the stream.sh file
You might need to experiment with the resolution, frame-rate and so on.
When needed you can add --vflip and/or --hflip for correcting the view.
#!/bin/bash
libcamera-vid -t 0 --inline --width 1920 --height 1080 --framerate 15 -o - | cvlc -vvv stream:///dev/stdin --sout '#rtp{sdp=rtsp://:8554/stream}' :demux=h264
Enable the script file to be executed:
sudo chmod +x /home/pi/stream.sh
Enabling the script as service
sudo nano /lib/systemd/system/stream.service
And write in it:
[Unit]
Description=Custom Webcam Streaming Service
After=multi-user.target

[Service]
Type=simple
ExecStart=/home/pi/stream.sh
Restart=on-abort

[Install]
WantedBy=multi-user.target
Set correct permissions on the service file:
sudo chmod 644 /lib/systemd/system/stream.service
Creating the service on the system
sudo systemctl enable stream.service
Starting the service
sudo service stream start
Checking the status of the service
sudo service stream status
Checking the streaming on your desktop
Start VLC media player and navigate to Media -> Open network Stream or press CTRL+N.
Enter the URL as follows:
rtsp://raspberrypi.local:8554/stream